
Gömülü Web Sunucusu Eğitimi: Java Uygulaması Başlatılırken Gömülü HTTP Jersey sunucusu Nasıl Başlatılır
Yayınlanan: 2014-07-01
Bir süre önce, JAX-RS ve Jersey kullanarak Java ile RESTful Hizmetinin nasıl oluşturulacağı konusunda bir eğitim yazdım. Tüm ayrıntılı adımlardan sonra projenizi Tomcat Web Server dağıtmanız gerekiyor ve her şey yolunda. Bu öğretici ile ~ 20 dakika içinde RESTFul hizmetini oluşturabilmelisiniz.
Ama bunu
~5 minsiçinde yapmaya ne dersiniz? Ayrıca bazen web uygulamanız için Tomcat'i kurmak çok zordur.
Bir dizi neden var:
- Tomcat ikili dosyalarının geliştirme ortamına kopyalanması gerekebilir.
- Tüm ayarları doğru şekilde yapılandırmadıysanız, Tomcat uygulamanız çalışmayabilir.
- Projenizi
.warprojesi olarak dışa aktarmanız gerekir. - Uygulamanızı Tomcat'te dağıtmak ve basit .jar dosyasını çalıştırmak istemiyorsanız ne olur?
- .jar projesi ile – http sunucusunu nasıl başlatacaksınız? Başvurunuz gelen REST çağrısını kabul edecek mi?
Ekstra: Jersey Web Uygulamanıza CORS Filtresi nasıl eklenir?
Web Jersey Uygulamanıza Kaynaklar arası Cross-origin resource sharing eklemelisiniz. Lütfen aynısı için bu öğreticiyi takip edin:
Kaynaklar Arası Kaynak Paylaşımı (CORS) nedir – Java Jersey Web Sunucunuza nasıl eklenir?
Peki, basit bir çözüm var. HTTP isteklerini manuel olarak ayrıştırmak ve HTTP yanıtlarını manuel olarak biçimlendirmek için kod yazmadan, yalnızca Java SE API kullanarak Java'da çok temel bir HTTP sunucusu (yalnızca GET/POST'u destekler) oluşturmanın bir yolu vardır.
com.sun.net.httpserver.HttpServer kullanarak yukarıdakilerin hepsini başarabilmeliyiz.
Başlayalım:
Aşama 1:
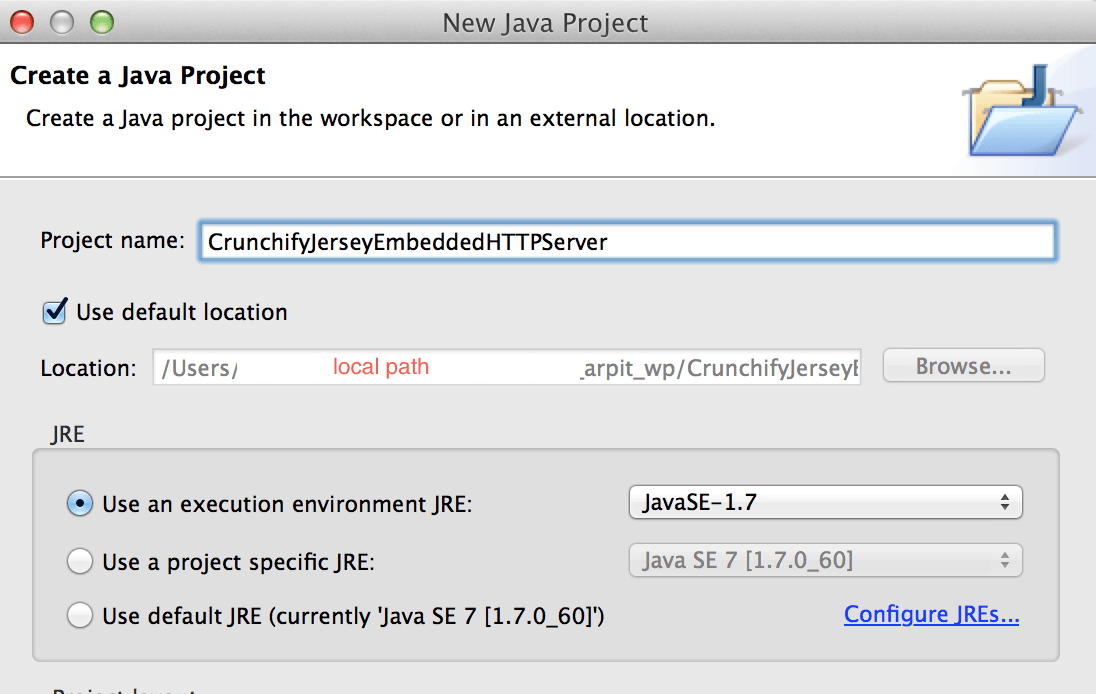
" CrunchifyJerseyEmbeddedHTTPServer " adlı yeni Java projesi oluşturun.
Adım 2:
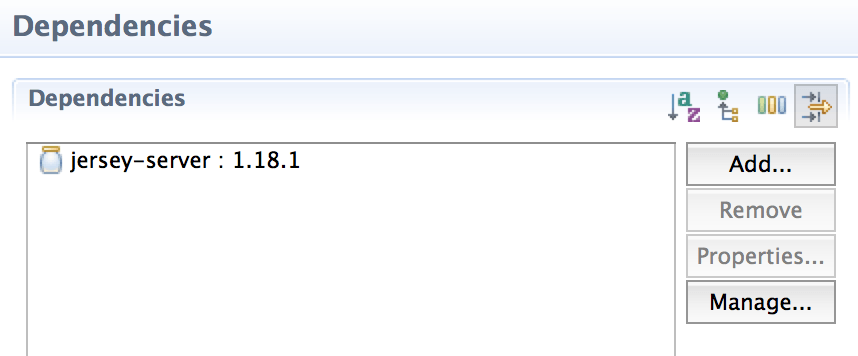
Maven Projesine dönüştürün. Bu, bağımlılık eklemek için hayatımızı kolaylaştıracaktır. Mevcut Java Projesini Maven Projesine dönüştürmek için lütfen bu öğreticiyi takip edin.
Aşama 3:
Bu projede sadece bir jersey-server bağımlılığına ihtiyacımız var.
4. Adım:
com.crunchify.tutorial JerseyEmbeddedHTTPServerCrunchify.java altında oluşturun.
|
1 2 3 4 5 6 7 8 9 10 11 12 13 14 15 16 17 18 19 20 21 22 23 24 25 26 27 28 29 30 31 32 33 34 35 36 37 38 39 40 41 42 43 44 45 46 47 48 49 50 51 |
package com . crunchify . tutorial ; import java . io . IOException ; import java . net . InetAddress ; import java . net . URI ; import java . net . UnknownHostException ; import javax . ws . rs . core . UriBuilder ; import com . sun . jersey . api . container . httpserver . HttpServerFactory ; import com . sun . jersey . api . core . PackagesResourceConfig ; import com . sun . jersey . api . core . ResourceConfig ; import com . sun . net . httpserver . HttpServer ; /** * @author Crunchify.com * */ @SuppressWarnings ( "restriction" ) public class JerseyEmbeddedHTTPServerCrunchify { public static void main ( String [ ] args ) throws IOException { System . out . println ( "Starting Crunchify's Embedded Jersey HTTPServer...\n" ) ; HttpServer crunchifyHTTPServer = createHttpServer ( ) ; crunchifyHTTPServer . start ( ) ; System . out . println ( String . format ( "\nJersey Application Server started with WADL available at " + "%sapplication.wadl\n" , getCrunchifyURI ( ) ) ) ; System . out . println ( "Started Crunchify's Embedded Jersey HTTPServer Successfully !!!" ) ; } private static HttpServer createHttpServer ( ) throws IOException { ResourceConfig crunchifyResourceConfig = new PackagesResourceConfig ( "com.crunchify.tutorial" ) ; // This tutorial required and then enable below line: https://crunchify.com/?p=6360 //crunchifyResourceConfig.getContainerResponseFilters().add(CrunchifyCORSFilter.class); return HttpServerFactory . create ( getCrunchifyURI ( ) , crunchifyResourceConfig ) ; } private static URI getCrunchifyURI ( ) { return UriBuilder . fromUri ( "http://" + crunchifyGetHostName ( ) + "/" ) . port ( 8085 ) . build ( ) ; } private static String crunchifyGetHostName ( ) { String hostName = "localhost" ; try { hostName = InetAddress . getLocalHost ( ) . getCanonicalHostName ( ) ; } catch ( UnknownHostException e ) { e . printStackTrace ( ) ; } return hostName ; } } |

Adım 5:
REST API'nizi oluşturun. Java sınıfı CrunchifyAPI.java aynı paket " com.crunchify.tutorial " altında oluşturun
|
1 2 3 4 5 6 7 8 9 10 11 12 13 14 15 16 17 |
package com . crunchify . tutorial ; import javax . ws . rs . GET ; import javax . ws . rs . Path ; import javax . ws . rs . Produces ; import javax . ws . rs . core . MediaType ; @Path ( "api" ) public class CrunchifyAPI { @GET @Produces ( MediaType . TEXT_PLAIN ) public String get ( ) { return "\n This is Crunchify REST API via HTTPServer" ; } } |
6. Adım:
Ve bu kadar. Şimdi JerseyEmbeddedHTTPServerCrunchify.java sağ tıklayın ve " Run it as Java Application ".
|
1 2 3 4 5 6 7 8 9 10 11 12 13 14 15 16 |
Starting Crunchify 's Embedded Jersey HTTPServer... Jun 30, 2014 3:45:26 PM com.sun.jersey.api.core.PackagesResourceConfig init INFO: Scanning for root resource and provider classes in the packages: com.crunchify.tutorial Jun 30, 2014 3:45:26 PM com.sun.jersey.api.core.ScanningResourceConfig logClasses INFO: Root resource classes found: class com.crunchify.tutorial.CrunchifyAPI Jun 30, 2014 3:45:26 PM com.sun.jersey.api.core.ScanningResourceConfig init INFO: No provider classes found. Jun 30, 2014 3:45:27 PM com.sun.jersey.server.impl.application.WebApplicationImpl _initiate INFO: Initiating Jersey application, version ' Jersey : 1.18.1 02 / 19 / 2014 03 : 28 AM ' Jersey Application Server started with WADL available at http://localhost:8085/application.wadl Started Crunchify' s Embedded Jersey HTTPServer Successfully ! ! ! |
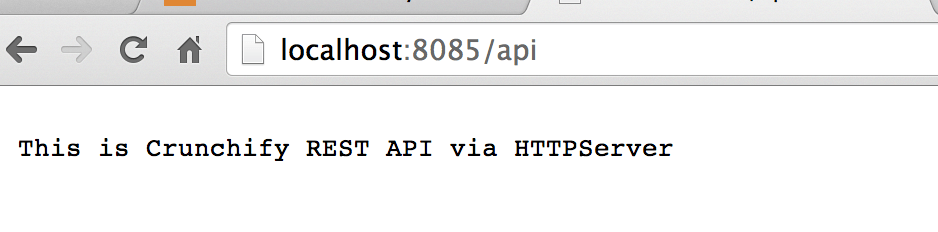
7. Adım:
Sonucu Doğrula. Bu URL'yi ziyaret edin: http://localhost:8085/api ve tarayıcıda sonucu görmelisiniz.
Umarım bu eğitimden hoşlanırsınız. Herhangi bir yorum paylaşmanız mı gerekiyor?
Dinlemek için buradayım. Teşekkürler.