
Tutorial del servidor web incorporado: cómo iniciar el servidor Jersey HTTP incorporado durante el inicio de la aplicación Java
Publicado: 2014-07-01
Hace algún tiempo escribí un tutorial sobre cómo crear un servicio RESTful con Java usando JAX-RS y Jersey. Después de todos los pasos detallados, debe implementar su proyecto en Tomcat Web Server y debería estar bien. Con ese tutorial, debería poder crear simplemente un servicio RESTFul en ~ 20 minutos.
Pero, ¿qué hay de hacerlo en
~5 mins? Además, a veces es muy difícil configurar Tomcat para su aplicación web.
Hay varias razones:
- Es posible que deba hacer que los archivos binarios de Tomcat se copien en el entorno de desarrollo.
- Si no tiene todas las configuraciones correctamente configuradas, es posible que su aplicación Tomcat no funcione.
- Debe tener que exportar su proyecto como proyecto
.war - ¿Qué sucede si no desea implementar su aplicación en Tomcat y ejecutar un archivo .jar simple?
- Con el proyecto .jar, ¿cómo iniciará el servidor http? ¿Su aplicación aceptará llamadas REST entrantes?
Extra: ¿Cómo agregar el filtro CORS a su aplicación web de Jersey?
Debe agregar Cross-origin resource sharing a su aplicación Web Jersey. Por favor, siga este tutorial para el mismo:
¿Qué es el uso compartido de recursos de origen cruzado (CORS)? ¿Cómo agregarlo a su servidor web Java Jersey?
Bueno, hay una solución simple. Hay una forma de crear un servidor HTTP muy básico (que solo admita GET/POST) en Java usando solo la API de Java SE, sin escribir código para analizar manualmente las solicitudes HTTP y formatear manualmente las respuestas HTTP.
Usando com.sun.net.httpserver.HttpServer , deberíamos poder lograr todo lo anterior.
Empecemos:
Paso 1:
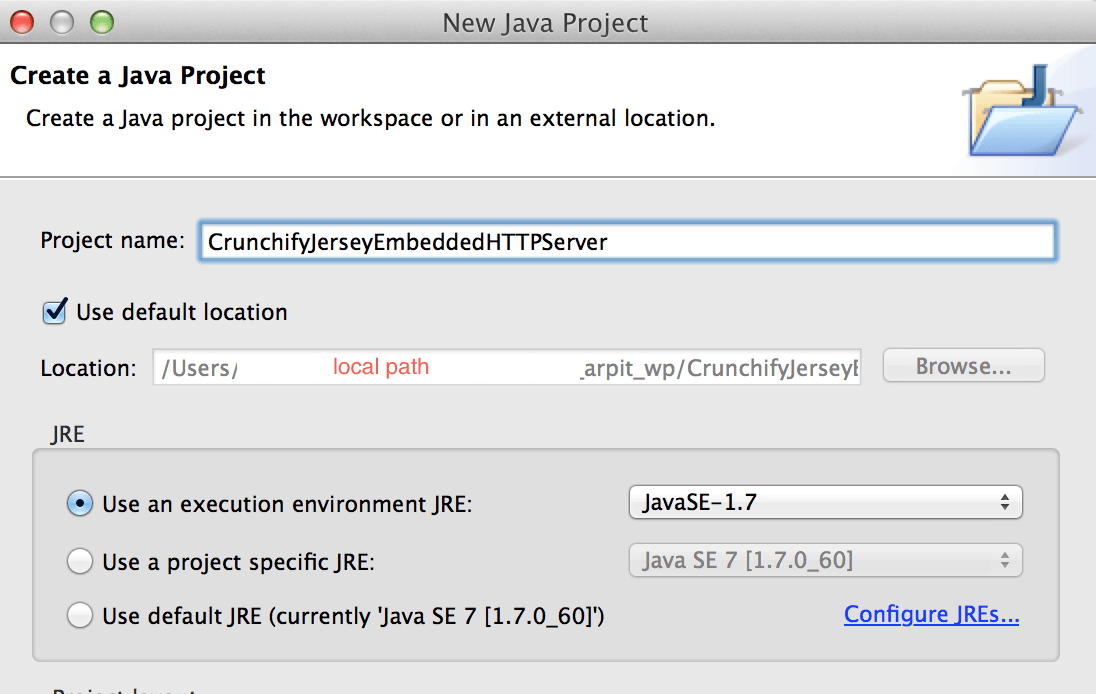
Cree un nuevo proyecto Java " CrunchifyJerseyEmbeddedHTTPServer ".
Paso 2:
Conviértalo a Maven Project. Esto simplificará nuestra vida para agregar dependencias. Siga este tutorial para convertir un proyecto Java existente en un proyecto Maven.
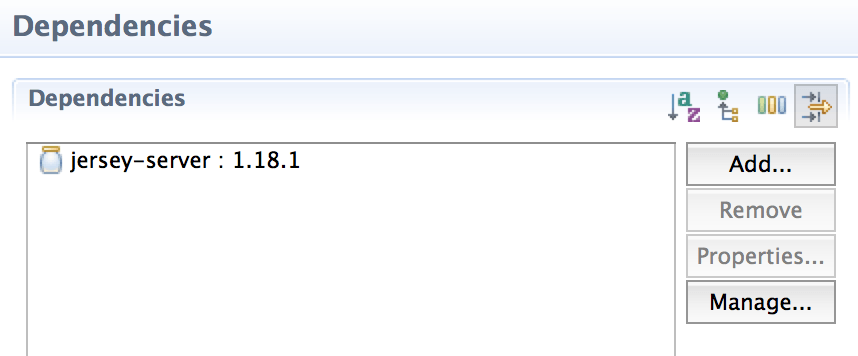
Paso 3:
En este proyecto solo necesitamos una dependencia jersey-server .
Etapa 4:
Cree JerseyEmbeddedHTTPServerCrunchify.java en el paquete com.crunchify.tutorial .
|
1 2 3 4 5 6 7 8 9 10 11 12 13 14 15 16 17 18 19 20 21 22 23 24 25 26 27 28 29 30 31 32 33 34 35 36 37 38 39 40 41 42 43 44 45 46 47 48 49 50 51 |
package com . crunchify . tutorial ; import java . io . IOException ; import java . net . InetAddress ; import java . net . URI ; import java . net . UnknownHostException ; import javax . ws . rs . core . UriBuilder ; import com . sun . jersey . api . container . httpserver . HttpServerFactory ; import com . sun . jersey . api . core . PackagesResourceConfig ; import com . sun . jersey . api . core . ResourceConfig ; import com . sun . net . httpserver . HttpServer ; /** * @author Crunchify.com * */ @SuppressWarnings ( "restriction" ) public class JerseyEmbeddedHTTPServerCrunchify { public static void main ( String [ ] args ) throws IOException { System . out . println ( "Starting Crunchify's Embedded Jersey HTTPServer...\n" ) ; HttpServer crunchifyHTTPServer = createHttpServer ( ) ; crunchifyHTTPServer . start ( ) ; System . out . println ( String . format ( "\nJersey Application Server started with WADL available at " + "%sapplication.wadl\n" , getCrunchifyURI ( ) ) ) ; System . out . println ( "Started Crunchify's Embedded Jersey HTTPServer Successfully !!!" ) ; } private static HttpServer createHttpServer ( ) throws IOException { ResourceConfig crunchifyResourceConfig = new PackagesResourceConfig ( "com.crunchify.tutorial" ) ; // This tutorial required and then enable below line: https://crunchify.com/?p=6360 //crunchifyResourceConfig.getContainerResponseFilters().add(CrunchifyCORSFilter.class); return HttpServerFactory . create ( getCrunchifyURI ( ) , crunchifyResourceConfig ) ; } private static URI getCrunchifyURI ( ) { return UriBuilder . fromUri ( "http://" + crunchifyGetHostName ( ) + "/" ) . port ( 8085 ) . build ( ) ; } private static String crunchifyGetHostName ( ) { String hostName = "localhost" ; try { hostName = InetAddress . getLocalHost ( ) . getCanonicalHostName ( ) ; } catch ( UnknownHostException e ) { e . printStackTrace ( ) ; } return hostName ; } } |

Paso 5:
Cree su API REST. Cree la clase java CrunchifyAPI.java en el mismo paquete " com.crunchify.tutorial "
|
1 2 3 4 5 6 7 8 9 10 11 12 13 14 15 16 17 |
package com . crunchify . tutorial ; import javax . ws . rs . GET ; import javax . ws . rs . Path ; import javax . ws . rs . Produces ; import javax . ws . rs . core . MediaType ; @Path ( "api" ) public class CrunchifyAPI { @GET @Produces ( MediaType . TEXT_PLAIN ) public String get ( ) { return "\n This is Crunchify REST API via HTTPServer" ; } } |
Paso 6:
Y eso es. Ahora haga clic derecho en JerseyEmbeddedHTTPServerCrunchify.java y " Run it as Java Application ".
|
1 2 3 4 5 6 7 8 9 10 11 12 13 14 15 16 |
Starting Crunchify 's Embedded Jersey HTTPServer... Jun 30, 2014 3:45:26 PM com.sun.jersey.api.core.PackagesResourceConfig init INFO: Scanning for root resource and provider classes in the packages: com.crunchify.tutorial Jun 30, 2014 3:45:26 PM com.sun.jersey.api.core.ScanningResourceConfig logClasses INFO: Root resource classes found: class com.crunchify.tutorial.CrunchifyAPI Jun 30, 2014 3:45:26 PM com.sun.jersey.api.core.ScanningResourceConfig init INFO: No provider classes found. Jun 30, 2014 3:45:27 PM com.sun.jersey.server.impl.application.WebApplicationImpl _initiate INFO: Initiating Jersey application, version ' Jersey : 1.18.1 02 / 19 / 2014 03 : 28 AM ' Jersey Application Server started with WADL available at http://localhost:8085/application.wadl Started Crunchify' s Embedded Jersey HTTPServer Successfully ! ! ! |
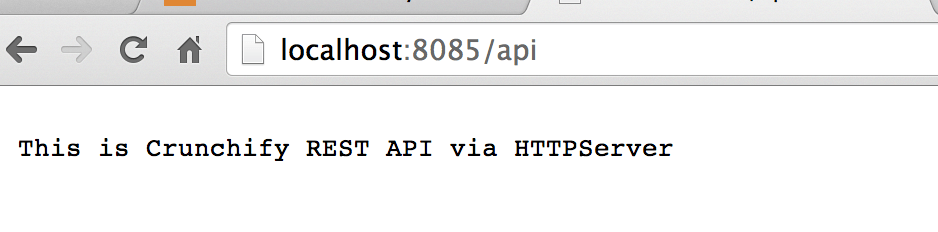
Paso 7:
Validar resultado. Visite esta URL: http://localhost:8085/api y debería ver el resultado en el navegador.
Espero que disfrutes este tutorial. ¿Necesitas compartir algún comentario?
Estoy aquí para escuchar. Gracias.