
POST Yöntemini Kullanarak Otomatik HTML Girişi – Bir Web Sitesinde Çift Tıklamayla Otomatik Oturum Açma
Yayınlanan: 2014-03-08Username/Email ve Password otomatik olarak doldurarak bir web sitesine giriş yapmak isterseniz ne olur?
Pekala, bunun basit bir çözümü var. Bu çözüm, bir form içinde oturum açma ve şifre alanına sahip çok sayıda web sitesi için çalışır.
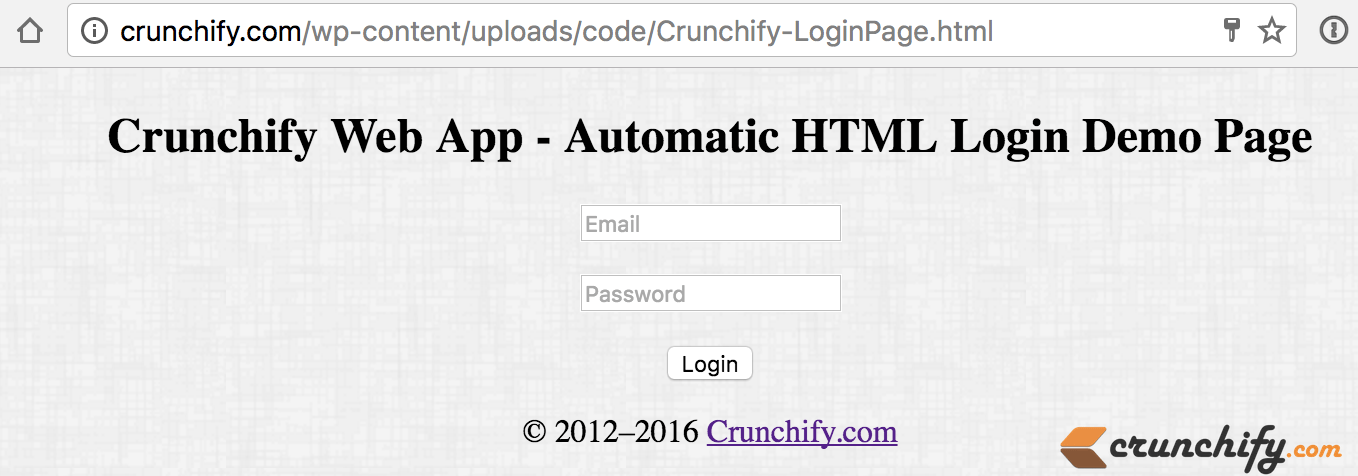
E-posta ve Şifre sağlamam gereken basit bir Giriş sayfası (Crunchify-LoginPage.html). Bağlantı.
above fields otomatik olarak doldurmanız için Masaüstünüzde veya uygun bir yerde bir örnek dosya Crunchify.html dosyası oluşturun ve içeriğin altına koyun.
|
1 2 3 4 5 6 7 8 9 10 11 12 13 14 15 16 17 18 19 20 21 22 23 24 25 26 27 28 |
< html > < head > < title > Crunchify Login Page < / title > <script> function loginForm ( ) { document . myform . submit ( ) ; document . myform . action = "https://crunchify.com/wp-content/uploads/code/Crunchify-LoginPage.html" ; } </script> <style type ="text/css"> body { background-image : url ( 'https://cdn.crunchify.com/bg.png' ) ; } </style> < / head > < body onload = "loginForm()" > < form action = "https://crunchify.com/wp-content/uploads/code/success.html" name = "myform" method = "post" > < input type = "password" name = "password" value = "mypassw@rd" > < input type = "submit" value = "Login" > < / form > < / body > < / html > |
Ve bu kadar. Sadece yukarıdaki dosyaya double click ve hepiniz hazırsınız.
İşte dahili olarak olacaklar:
-
Crunchify.htmldosyasını açtığınızda, özelCrunchify-LoginPage.htmlsayfanızı dahili olarak açacaktır. - Dahili olarak, Crunchify.html dosyasında sağlanan e-postanızı ve şifrenizi iletir.
- Gönderildikten sonra
success.htmlsayfasına yönlendirileceksiniz.
Bu çok basit bir HTML ipucudur, ancak bazen tekrarlanan oturum açma etkinliği için büyük zaman kazandırır.
Bilginize: Bu örnek için sık kullandığım giriş sayfam olan Crunchify-LoginPage.html sayfası kaynak kodu:
|
1 2 3 4 5 6 7 8 9 10 11 12 13 14 15 16 17 18 19 20 21 22 23 24 25 26 27 28 29 30 31 32 33 34 35 36 37 38 39 40 41 42 43 |
< ! DOCTYPE html > < html lang = "en" > < head > < meta charset = "utf-8" > < meta http - equiv = "X-UA-Compatible" content = "IE=edge,chrome=1" > < title > Crunchify - Login Form Example < / title > <style type ="text/css"> body { background-image : url ( 'https://cdn.crunchify.com/bg.png' ) ; } </style> < / head > < body > < div align = "center" > < section class = "container" > < div class = "login" > < h1 > Crunchify Web App - Automatic HTML Login Demo Page < / h1 > < form name = "myform" action = "https://crunchify.com/wp-content/uploads/code/success.html" > < p > < input type = "text" name = "email" value = "" placeholder = "Email" > < / p > < p > < input type = "password" name = "password" value = "" placeholder = "Password" > < / p > < p class = "submit" > < input type = "submit" name = "submit" value = "Login" > < / p > < / form > < / div > < / section > < section class = "about" > < p class = "about-author" > © 2012 – 2016 < a href = "https://crunchify.com" target = "_blank" > Crunchify . com < / a > < / section > < / div > < / body > < / html > |
