
Java에서 Log4j를 사용하여 고유한 로깅 수준을 만드는 방법(Log4j 2 구성)
게시 됨: 2017-07-26
Log4j에 자신만의 로깅 레벨을 추가해야 하는 경우 다음과 같이 하면 됩니다. Apache Log4j 2를 사용하여 Level , Custom Log Levels 에서 확장되는 고유한 클래스를 생성해야 합니다.
Log4j 는 간단하고 유연한 logging framework 입니다. 로깅은 개발자에게 애플리케이션 실패에 대한 자세한 컨텍스트를 제공합니다. log4j를 사용하면 애플리케이션 바이너리를 수정하지 않고 런타임에 로깅을 활성화할 수 있습니다.
log4j 패키지는 이러한 명령문이 높은 성능 비용을 발생시키지 않고 제공된 코드에 남아 있을 수 있도록 설계되었습니다.
Log4j를 사용하면 로깅 요청을 여러 대상에 인쇄할 수 있습니다. log4j에서는 출력 대상을 appender 라고 합니다. 콘솔, 파일, GUI 구성 요소, 원격 소켓 서버에서 JMS에 이르기까지 다양합니다.
Jar 파일이 필요합니다.
다음은 Maven 종속성입니다.
|
1 2 3 4 5 |
< dependency > < groupId > log4j < / groupId > < artifactId > log4j < / artifactId > < version > 2.16.0 < / version > < / dependency > |
Log4j를 최신 버전으로 업데이트
CVE-2021-44228: Apache Log4j2 <=2.14.1 구성, 로그 메시지 및 매개변수에 사용된 JNDI 기능은 공격자가 제어하는 LDAP 및 기타 JNDI 관련 엔드포인트로부터 보호하지 않습니다.
log4j 2.16.0부터 이 동작은 기본적으로 비활성화되어 있습니다.
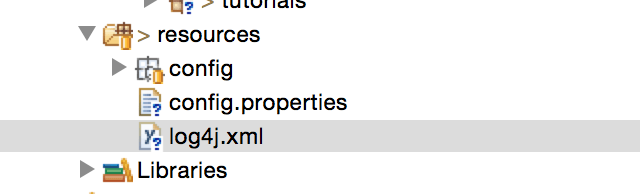
/resources 폴더 아래에 log4j.xml 파일을 넣어야 합니다.
다음은 샘플 Java 코드입니다.
- Java의 사용자 정의 로그 수준에 대한 Log4j 로깅
- log4j에서 자신만의 로깅 레벨 만들기
- log4j 사용자 정의 로거 예제
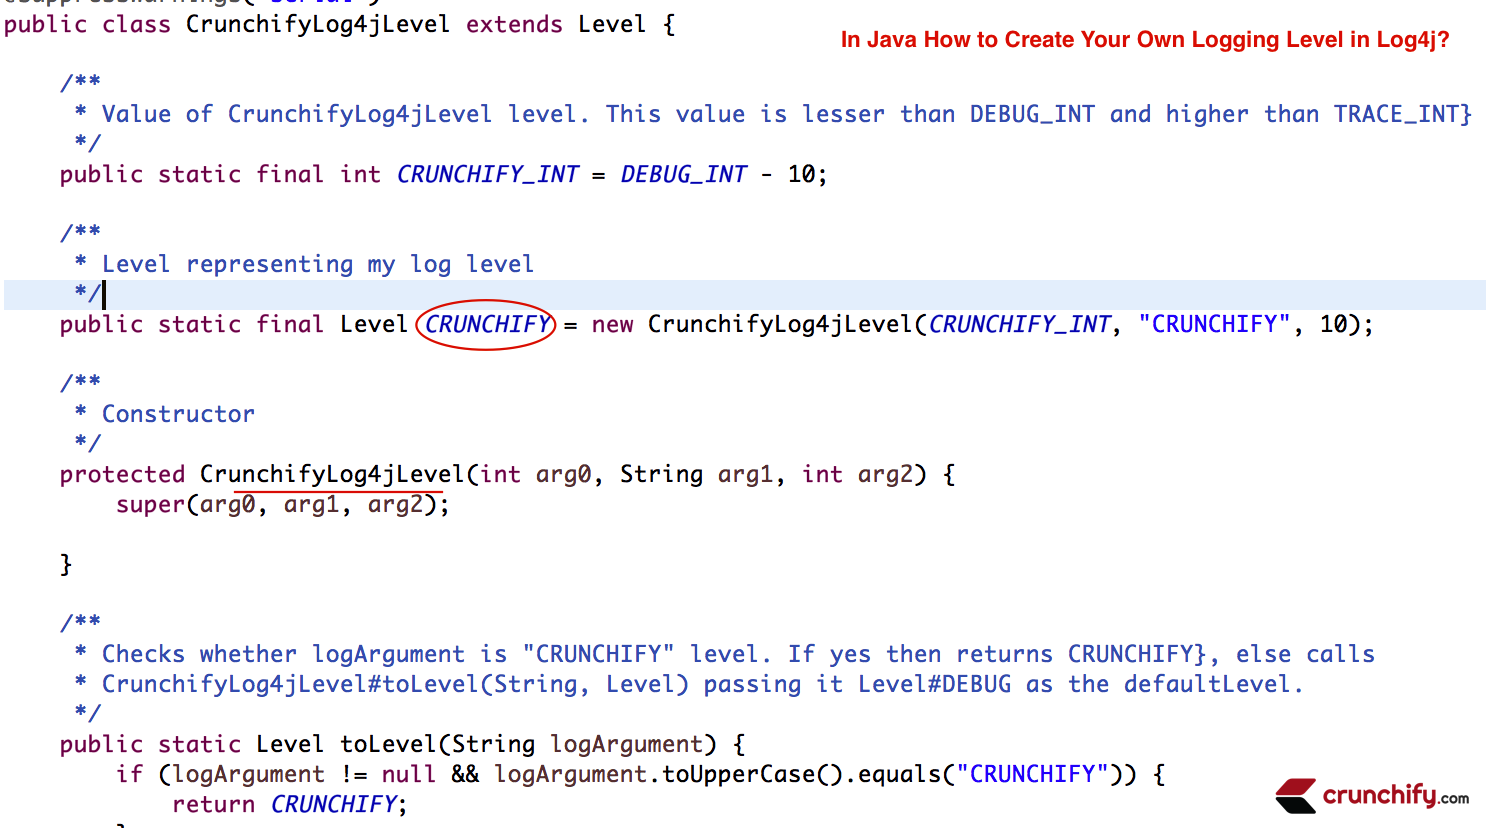
CrunchifyLog4jLevel.java
|
1 2 3 4 5 6 7 8 9 10 11 12 13 14 15 16 17 18 19 20 21 22 23 24 25 26 27 28 29 30 31 32 33 34 35 36 37 38 39 40 41 42 43 44 45 46 47 48 49 50 51 52 53 54 55 56 57 58 59 60 61 62 63 64 65 66 67 68 69 70 71 72 73 74 75 76 77 78 79 80 81 |
package com . crunchify . tutorials ; import org . apache . log4j . Level ; /** * @author Crunchify.com * */ @SuppressWarnings ( "serial" ) public class CrunchifyLog4jLevel extends Level { /** * Value of CrunchifyLog4jLevel level. This value is lesser than DEBUG_INT and higher * than TRACE_INT} */ public static final int CRUNCHIFY_INT = DEBUG_INT - 10 ; /** * Level representing my log level */ public static final Level CRUNCHIFY = new CrunchifyLog4jLevel ( CRUNCHIFY_INT , "CRUNCHIFY" , 10 ) ; /** * Constructor */ protected CrunchifyLog4jLevel ( int arg0 , String arg1 , int arg2 ) { super ( arg0 , arg1 , arg2 ) ; } /** * Checks whether logArgument is "CRUNCHIFY" level. If yes then returns * CRUNCHIFY}, else calls CrunchifyLog4jLevel#toLevel(String, Level) passing * it Level#DEBUG as the defaultLevel. */ public static Level toLevel ( String logArgument ) { if ( logArgument ! = null && logArgument.toUpperCase().equals("CRUNCHIFY")) { return CRUNCHIFY; } return ( Level ) toLevel ( logArgument , Level . DEBUG ) ; } /** * Checks whether val is CrunchifyLog4jLevel#CRUNCHIFY_INT. If yes then * returns CrunchifyLog4jLevel#CRUNCHIFY, else calls * CrunchifyLog4jLevel#toLevel(int, Level) passing it Level#DEBUG as the * defaultLevel * */ public static Level toLevel ( int val ) { if ( val == CRUNCHIFY_INT ) { return CRUNCHIFY ; } return ( Level ) toLevel ( val , Level . DEBUG ) ; } /** * Checks whether val is CrunchifyLog4jLevel#CRUNCHIFY_INT. If yes * then returns CrunchifyLog4jLevel#CRUNCHIFY, else calls Level#toLevel(int, org.apache.log4j.Level) * */ public static Level toLevel ( int val , Level defaultLevel ) { if ( val == CRUNCHIFY_INT ) { return CRUNCHIFY ; } return Level . toLevel ( val , defaultLevel ) ; } /** * Checks whether logArgument is "CRUNCHIFY" level. If yes then returns * CrunchifyLog4jLevel#CRUNCHIFY, else calls * Level#toLevel(java.lang.String, org.apache.log4j.Level) * */ public static Level toLevel ( String logArgument , Level defaultLevel ) { if ( logArgument ! = null && logArgument.toUpperCase().equals("CRUNCHIFY")) { return CRUNCHIFY; } return Level . toLevel ( logArgument , defaultLevel ) ; } } |
다른 사람은 다음을 읽어야 합니다.

- 명령줄을 통해 Apache Tomcat 서버 중지를 시작하는 방법은 무엇입니까? (Windows 서비스로 설정)
- Eclipse에서 간단한 웹 서비스 및 웹 서비스 클라이언트 생성 및 배포
다음은 log4j.xml 파일의 내용입니다.
|
1 2 3 4 5 6 7 8 9 10 11 12 13 14 15 16 17 18 19 20 21 22 23 24 25 26 27 28 29 30 31 32 |
<? xml version = "1.0" encoding = "UTF-8" ?> < ! DOCTYPE log4j : configuration SYSTEM "log4j.dtd" > < log4j : configuration xmlns : log4j = "http://jakarta.apache.org/log4j/" debug = "false" > < ! -- FILE Appender -- > < appender name = "FILE" class = "org.apache.log4j.FileAppender" > < param name = "File" value = "c:/crunchify.log" / > < param name = "Append" value = "false" / > < layout class = "org.apache.log4j.PatternLayout" > < param name = "ConversionPattern" value = "%t %-5p %c - %m%n" / > < / layout > < / appender > < ! -- CONSOLE Appender -- > < appender name = "CONSOLE" class = "org.apache.log4j.ConsoleAppender" > < layout class = "org.apache.log4j.PatternLayout" > < param name = "ConversionPattern" value = "%d{ISO8601} %-5p [%c{1}] %m%n" / > < / layout > < / appender > < ! -- Limit Category and Specify Priority -- > < category name = "com.crunchify" > < priority value = "CRUNCHIFY" class = "com.crunchify.tutorials.CrunchifyLog4jLevel" / > < appender - ref ref = "CONSOLE" / > < / category > < ! -- Setup the Root category -- > < root > < appender - ref ref = "CONSOLE" / > < / root > < / log4j : configuration > |
CrunchifyLog4jLevelTest.java
|
1 2 3 4 5 6 7 8 9 10 11 12 13 14 15 16 17 18 19 20 21 |
package com . crunchify . tutorials ; import org . apache . log4j . Level ; import org . apache . log4j . Logger ; import com . crunchify . tutorials . CrunchifyLog4jLevel ; /** * Tests whether the new log level * com.crunchify.tutorials.CrunchifyLog4jLevel#CRUNCHIFY} is working * * @author Crunchify.com * */ public class CrunchifyLog4jLevelTest { public static void main ( String [ ] args ) { Logger logger = Logger . getLogger ( CrunchifyLog4jLevelTest . class ) ; logger . log ( CrunchifyLog4jLevel . CRUNCHIFY , "I am CrunchifyLog4jLevelTest log" ) ; logger . log ( Level . DEBUG , "I am a DEBUG message" ) ; } } |
테스트 프로그램을 실행하면 Eclipse's Console 에 아래와 같은 유형의 결과가 표시되어야 합니다.
|
1 2 |
2013 - 08 - 01 15 : 22 : 36 , 758 CRUNCHIFY [ CrunchifyLog4jLevelTest ] I am CrunchifyLog4jLevelTest log 2013 - 08 - 01 15 : 22 : 36 , 758 DEBUG [ CrunchifyLog4jLevelTest ] I am a DEBUG message |
로그 수준에 지정하는 int 값은 중요합니다. 여기에서 " CRUNCHIFY " 로그 수준이 DEBUG 수준보다 높지만 log4j가 제공하는 TRACE 수준보다 낮도록 정의했습니다.
따라서 카테고리( log4j.xml 파일에서)에서 우선 순위 수준을 DEBUG로 설정할 때마다 CRUNCHIFY 수준 로그는 로그 파일에 기록 되지 않습니다 .