
Automatische HTML-Anmeldung mit der POST-Methode – Automatische Anmeldung bei einer Website per Doppelklick
Veröffentlicht: 2014-03-08Was ist, wenn Sie sich bei einer Website anmelden möchten, indem Sie Username/Email und Password automatisch ausfüllen?
Nun, dafür gibt es eine einfache Lösung. Diese Lösung funktioniert für eine große Anzahl von Websites, die ein Anmelde- und Passwortfeld in einem Formular enthalten.
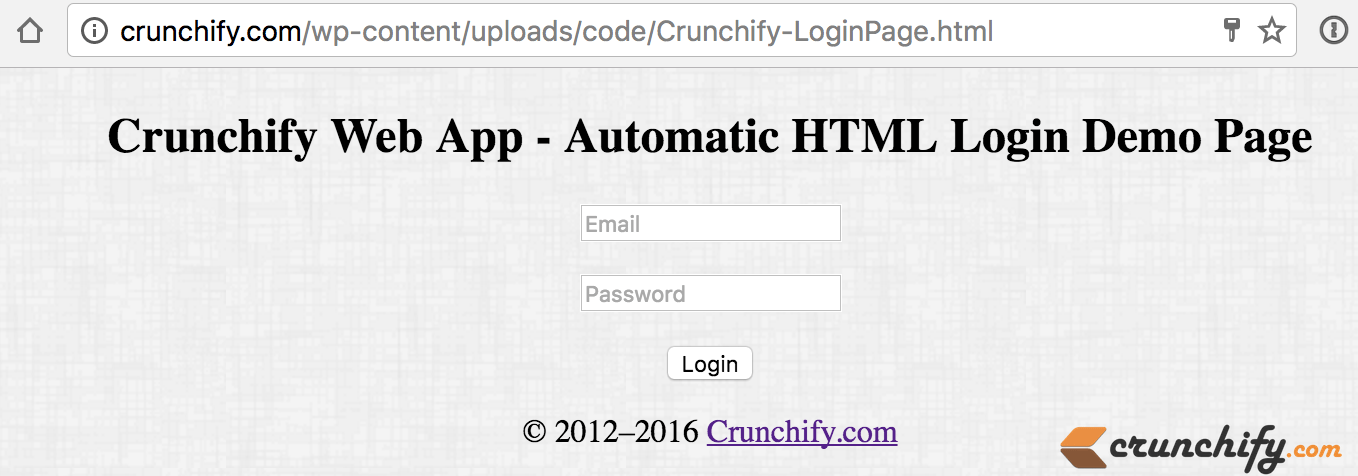
Hier ist eine einfache Anmeldeseite (Crunchify-LoginPage.html), auf der ich E-Mail und Passwort angeben muss. Verknüpfung.
Damit Sie die above fields automatisch ausfüllen können, erstellen Sie einfach eine Crunchify.html -Beispieldatei auf Ihrem Desktop oder an einem geeigneten Ort und legen Sie sie unter den Inhalt.
|
1 2 3 4 5 6 7 8 9 10 11 12 13 14 15 16 17 18 19 20 21 22 23 24 25 26 27 28 |
< html > < head > < title > Crunchify Login Page < / title > <script> function loginForm ( ) { document . myform . submit ( ) ; document . myform . action = "https://crunchify.com/wp-content/uploads/code/Crunchify-LoginPage.html" ; } </script> <style type ="text/css"> body { background-image : url ( 'https://cdn.crunchify.com/bg.png' ) ; } </style> < / head > < body onload = "loginForm()" > < form action = "https://crunchify.com/wp-content/uploads/code/success.html" name = "myform" method = "post" > < input type = "password" name = "password" value = "mypassw@rd" > < input type = "submit" value = "Login" > < / form > < / body > < / html > |
Und das ist es. double click einfach auf die obige Datei und schon sind Sie fertig.
Folgendes wird intern passieren:
- Wenn Sie die
Crunchify.html-Datei öffnen, wird intern Ihre dedizierte SeiteCrunchify-LoginPage.html - Intern werden Ihre E-Mail-Adresse und Ihr Passwort aus der Crunchify.html-Datei weitergegeben
- Nach dem Absenden werden Sie zur Seite
success.html
Dies ist ein sehr einfacher HTML-Tipp, aber manchmal spart er viel Zeit für wiederholte Anmeldeaktivitäten.
FYI: Hier ist ein Crunchify-LoginPage.html-Seitenquellcode, der meine häufig verwendete Anmeldeseite für dieses Beispiel ist:
|
1 2 3 4 5 6 7 8 9 10 11 12 13 14 15 16 17 18 19 20 21 22 23 24 25 26 27 28 29 30 31 32 33 34 35 36 37 38 39 40 41 42 43 |
< ! DOCTYPE html > < html lang = "en" > < head > < meta charset = "utf-8" > < meta http - equiv = "X-UA-Compatible" content = "IE=edge,chrome=1" > < title > Crunchify - Login Form Example < / title > <style type ="text/css"> body { background-image : url ( 'https://cdn.crunchify.com/bg.png' ) ; } </style> < / head > < body > < div align = "center" > < section class = "container" > < div class = "login" > < h1 > Crunchify Web App - Automatic HTML Login Demo Page < / h1 > < form name = "myform" action = "https://crunchify.com/wp-content/uploads/code/success.html" > < p > < input type = "text" name = "email" value = "" placeholder = "Email" > < / p > < p > < input type = "password" name = "password" value = "" placeholder = "Password" > < / p > < p class = "submit" > < input type = "submit" name = "submit" value = "Login" > < / p > < / form > < / div > < / section > < section class = "about" > < p class = "about-author" > © 2012 – 2016 < a href = "https://crunchify.com" target = "_blank" > Crunchify . com < / a > < / section > < / div > < / body > < / html > |
